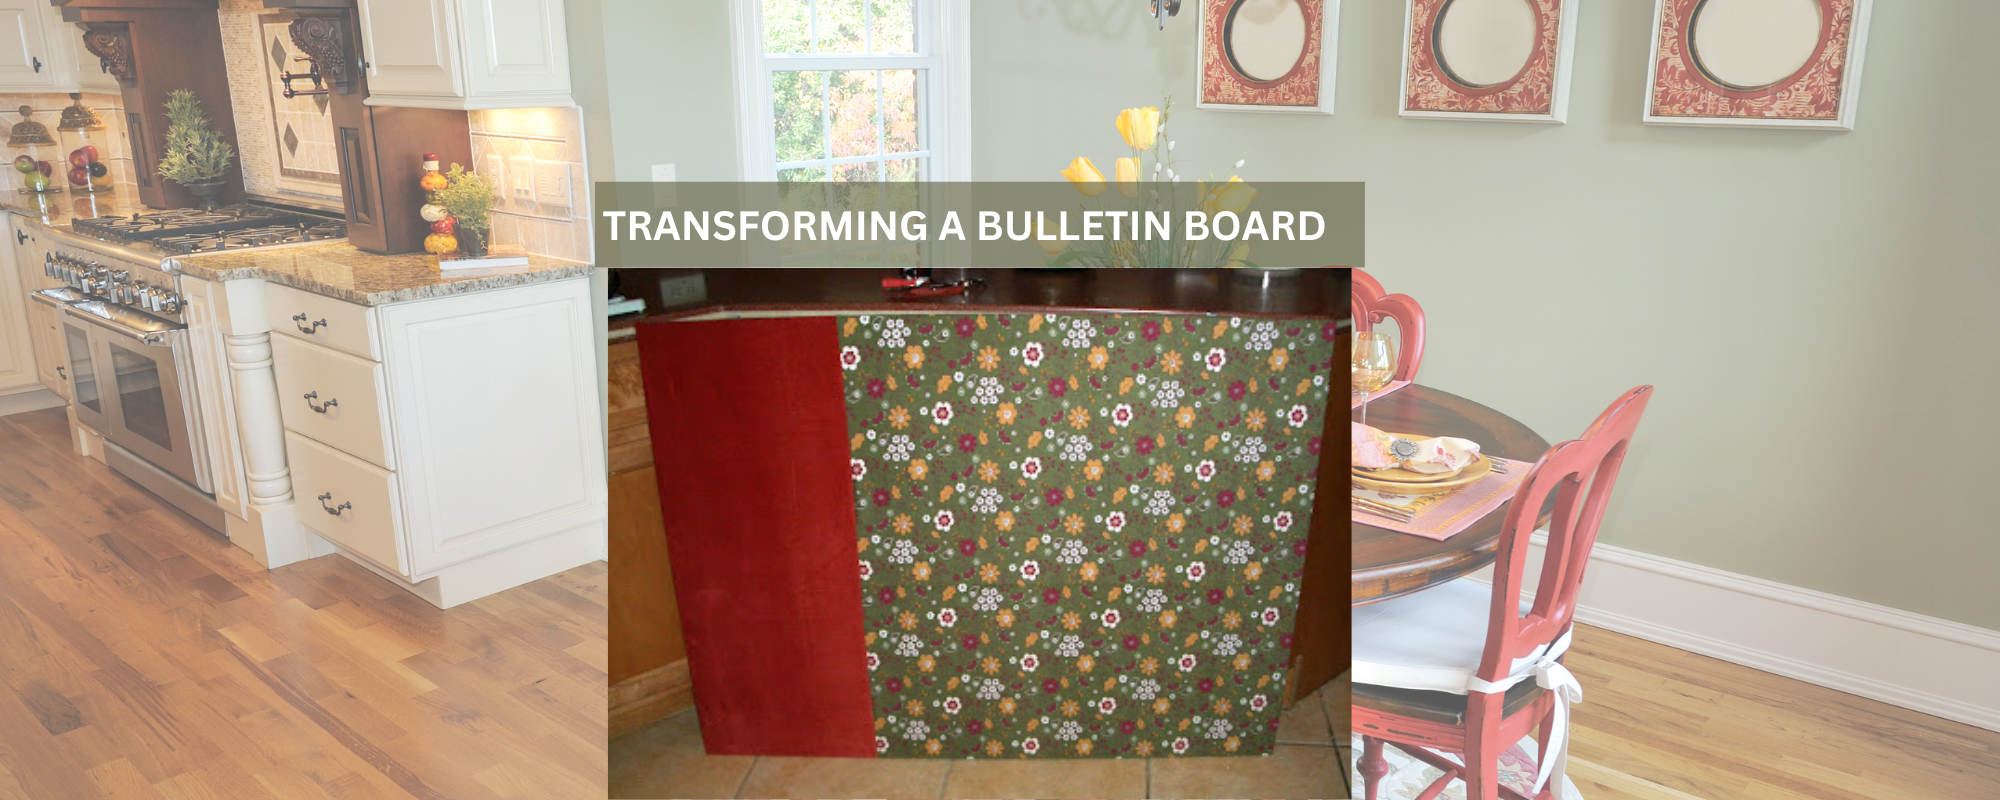

Simple Projects for Beginners: Crafting Confidence Without Complexity
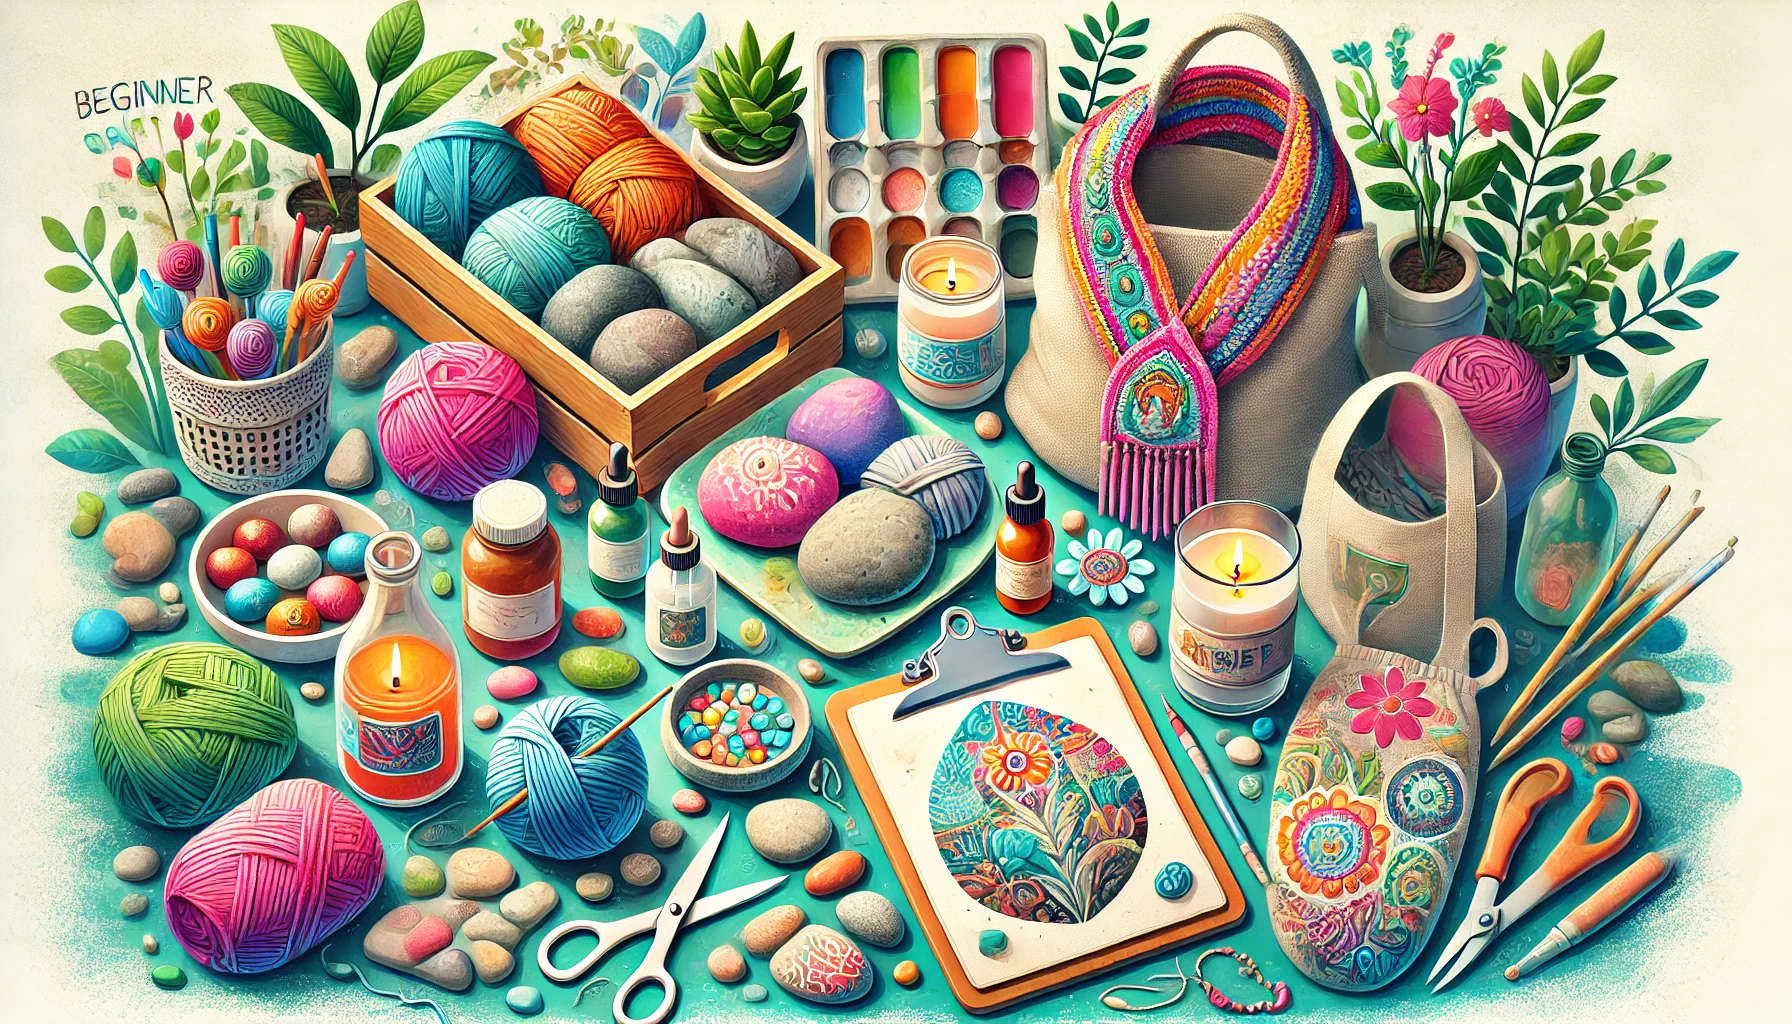
For many, the idea of crafting can be as daunting as it is appealing. The fear of intricate techniques and the pressure of achieving perfection can deter beginners from even starting. However, the joy of crafting lies in the creative process itself, not just the final product. Here are some simple and satisfying projects that are perfect for those just dipping their toes into the crafting world. These projects are designed to build confidence, teach basic skills, and ensure a fun experience without the stress of complex techniques. 1. Hand-Painted Rocks One of the easiest and most accessible crafting projects is painting rocks. This project requires minimal materials—rocks, paint, and brushes—and offers a great way to practice painting skills with a low risk of 'messing up.' You can turn these rocks into garden markers, cute home decor, or heartfelt gifts. Materials Needed: Smooth rocks Acrylic paints Paintbrushes Sealer (optional, for outdoor use) Steps: Clean the rocks and dry them thoroughly. Paint with a base color and let it dry. Use simple designs like stripes, polka dots, or flowers. Seal the rock with a clear acrylic sealer to protect your design if it will be kept outdoors. 2. Decoupage Candle Holders Decoupage is a fantastic way to create beautiful objects without needing advanced skills. Making candle holders can be as simple as adhering cutouts from napkins or magazines to a glass jar. Materials Needed: Glass jars or old vases Mod Podge or any other decoupage glue Brushes Decorative paper, napkins, or fabric Steps: Cut the paper or fabric into small pieces or strips. Apply a thin coat of Mod Podge to the outside of the jar. Place your paper or fabric on the glue and smooth out any bubbles. Once covered, apply another coat of Mod Podge over the top to seal it. Allow to dry completely before using. 3. Fabric Tote Bag Sewing a basic tote bag is a great beginner project that teaches basic sewing skills and leaves you with a useful and customizable item. Materials Needed: Fabric (cotton or canvas recommended) Sewing machine or needle and thread Scissors Pins Steps: Cut two rectangles of fabric for the bag and two strips for the handles. Hem the top edges of the rectangles. It really is easier then it sounds. Sew the sides and bottom of the bag. Attach the handles by sewing them to the inside of the bag's top edge. Wrapping It Up These simple projects are just the beginning of what can become a fulfilling crafting journey. Each completed project, no matter how basic, boosts confidence and skills, paving the way for more complex crafts. Most importantly, remember to enjoy the process and celebrate every creation, imperfections and all. Happy crafting! ...